Forests are some of the most rewarding places to take photos, but they can also be tricky. Dense trees, uneven light and busy backgrounds can make a scene that looks magical in person appear flat or messy in a photo. With a few simple techniques, you can capture the mood of the woods much more effectively.
These tips work whether you use a phone or a professional camera.
Choose the Right Light
Golden Hour
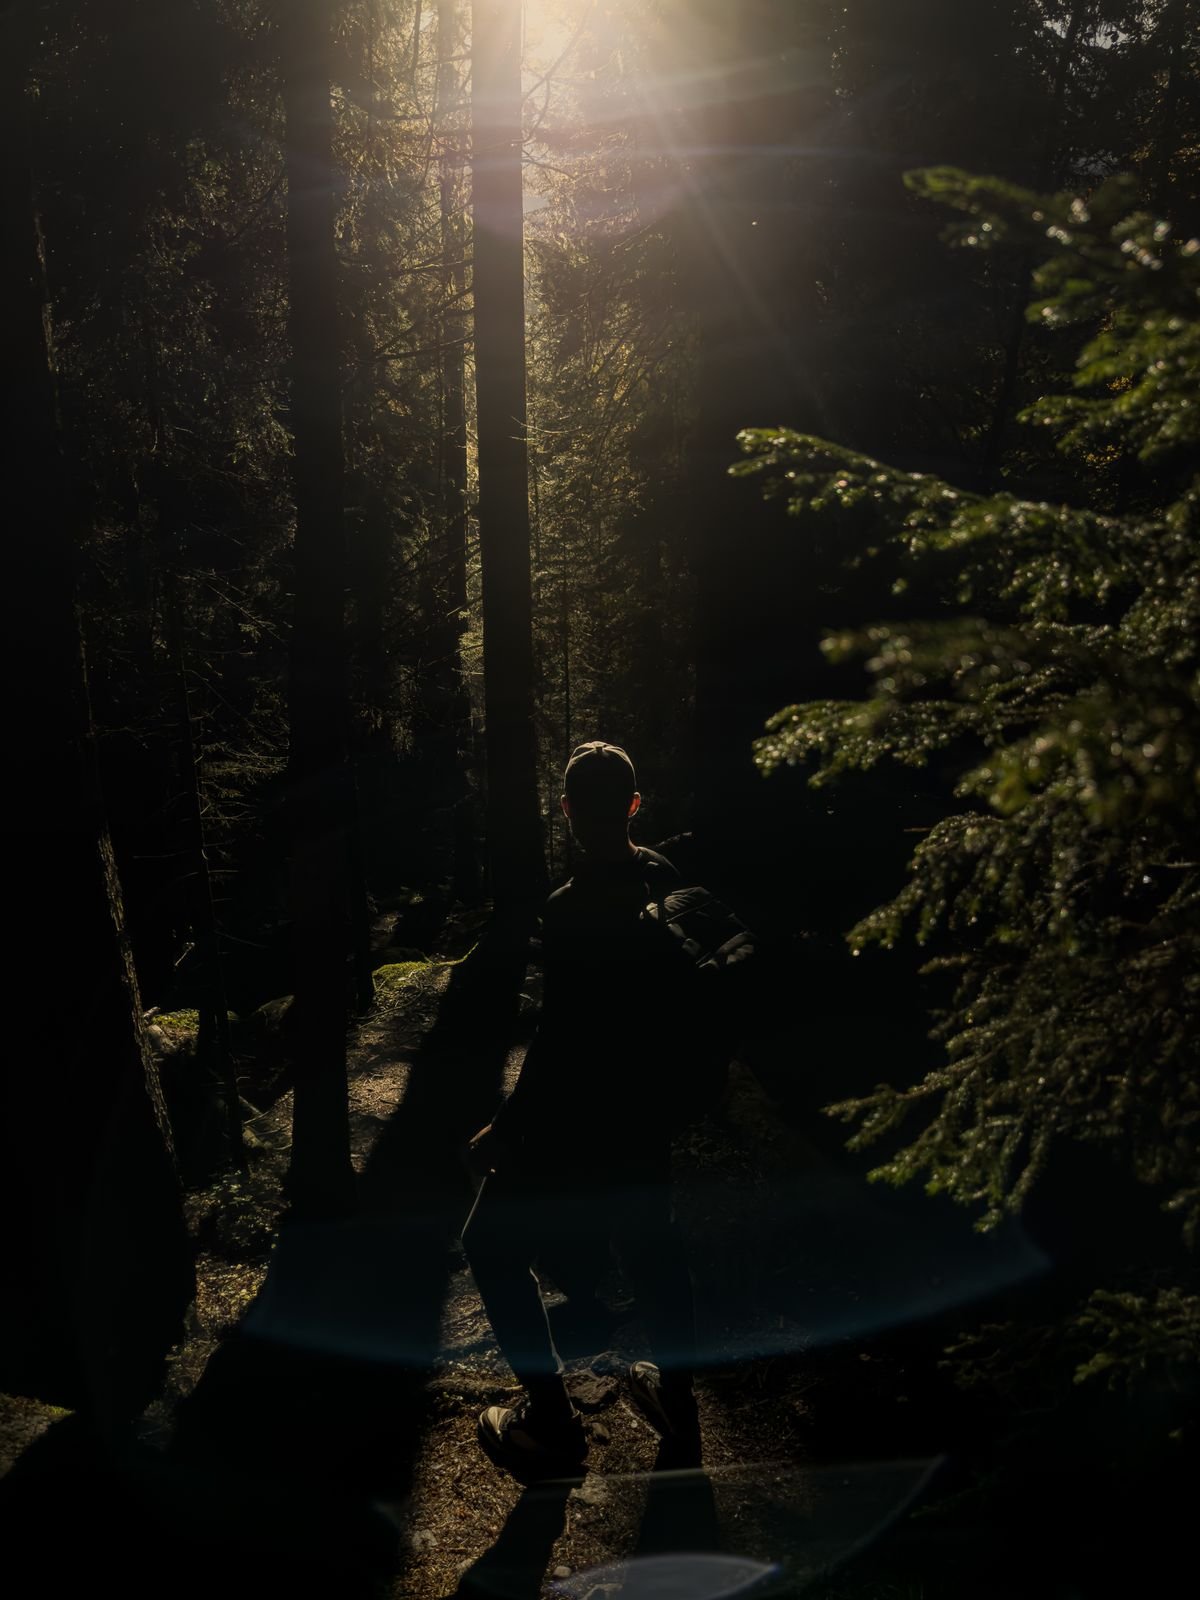
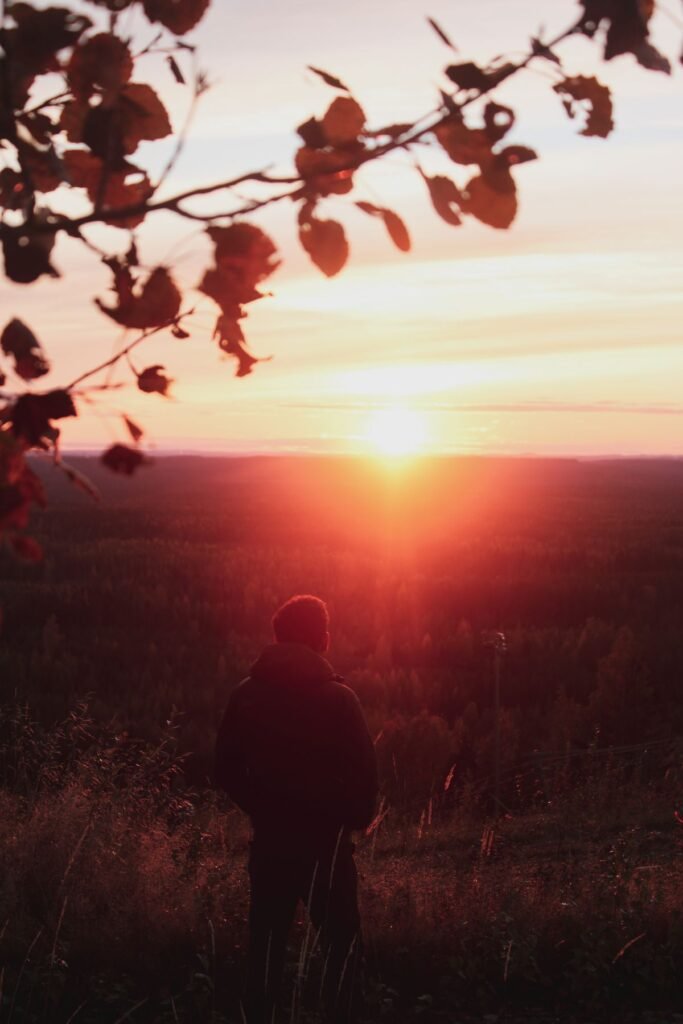
The hour after sunrise and before sunset gives soft, warm light that glows between the trees. Low sun also creates long shadows and beautiful light rays when there is mist or dust in the air.
Overcast Days
Many photographers love cloudy days in the forest. Clouds soften harsh light and reduce strong contrast, so greens look richer and details are easier to see.
Fog and Mist
Fog adds depth and atmosphere. Trees in the distance fade into the mist, creating layers that make the image feel calm and mysterious.
Find a Simple Composition
Forests are full of detail, so the biggest challenge is simplifying the scene.
- Look for a clear subject, such as a single tree, a path or a stream
- Use a winding trail to lead the viewer’s eye into the picture
- Frame your subject with overhanging branches
- Avoid bright gaps of sky that distract from the scene
- Try placing your subject slightly off-centre
Change Your Perspective
- Get low to the ground to show moss, mushrooms and fallen leaves
- Point your camera straight up to capture the canopy
- Step back and use a person for scale next to giant trees
- Move closer to fill the frame with bark textures or leaves
Camera Settings for Beginners
In darker woods, your camera may choose slow shutter speeds, which can cause blur. Hold the camera steady, lean against a tree or use a small tripod. On a phone, tap the screen to focus on your subject and adjust exposure so the highlights are not too bright.
If your camera allows it, shooting in RAW format gives you more control when editing.
Photographing Wildlife and Details
Animals in the forest are usually shy. Move slowly, stay quiet and be patient. A longer lens or zoom lets you keep a respectful distance. Small details such as dew drops, fungi and flowers make lovely close-up subjects when wildlife is hard to find.
Editing Your Forest Photos
- Adjust exposure and contrast gently
- Lower highlights to recover bright areas
- Fine-tune green and yellow tones so they look natural
- Straighten tree trunks if they lean in the frame
- Keep edits subtle to preserve a natural look
Be a Responsible Photographer
- Stay on trails and avoid trampling plants
- Never disturb nesting birds or animals for a photo
- Leave natural objects where you found them
Final Thoughts
Great forest photography comes from patience, good light and simple compositions. Go out often, try new angles and enjoy the process. Over time you will learn to see the woods the way your camera does and capture photos that truly share their magic.